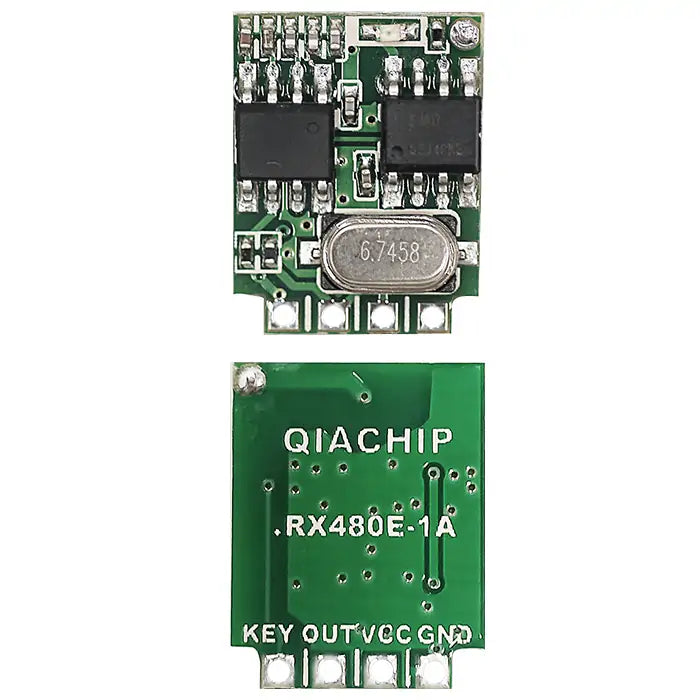
rx480e
RX480E-1A
RX480E-1A
Couldn't load pickup availability
Function description and setting method
(1) Momentary mode; (2) Toggle mode; (3) Latching mode; (4) Reset function; (5) Power-On Auto-Engagement.
- Once the receiving module and transmitter are paired and a working mode is set, the receiving module will keep this mode even after power off and power on again.
- The following working modes require the use of QIACHIP brand remote controls (transmitters) and controllers (receiving modules/wireless remote control switches). Compatibility with other brands is not guaranteed.
- All of the following modes require an external switch/button to be connected to the RX480E-1A receiver module before use.
(1) Momentary mode
In this mode:
- Press and hold the button on the transmitter: the output pin of the receiving module outputs a high level and stays high while the button is held down.
- Release the button: the corresponding output pin of the receiving module switches back to a low level.
How to set momentary mode
Step 1
After connecting the external learning button, Click the external learning button connected to the receiving module four times. The LED indicator on the receiving module will flash four times, then stay on, and the receiving module will enter the pairing state.
Step 2
Press the button on the transmitter to be paired. The LED indicator on the receiving module will flash and then turn off, indicating that the momentary mode has been set successfully.
(2) Toggle mode
In this mode:
- Press the matched button on the transmitter: the output pin of the receiving module outputs high level and remains unchanged.
- Press the same button again: the corresponding output pin of the receiving module switches to low level.
How to set toggle mode
Step 1
After connecting the external learning button, Click the external learning button connected to the receiving module twice. The LED indicator on the receiving module will flash twice, then stay on, and the receiving module will enter the pairing state.
Step 2
Press any button on the transmitter to be paired. The LED indicator on the receiving module will flash continuously and then turn off, indicating that the toggle mode has been set successfully.
(3) Latching mode
In this mode:
- The two buttons on the transmitter control the output pin of the receiving module to output high level and low level respectively.
- The first configured button can only control the output pin to output high level, and the second configured button can only control the output pin to output low level.
How to set latching mode
Step 1
After connecting the external learning button, Click the external learning button connected to the receiving module three times. The LED indicator on the receiving module will flash three times, then stay on, and the receiving module will enter the pairing state.
Step 2
Press one button on the transmitter to be paired. The LED indicator on the receiving module will flash and then stay on.
Step 3
Press another button on the transmitter to be paired. The LED indicator on the receiving module will flash continuously and then turn off, indicating that the latching mode has been set successfully.
(4) Reset function
When the RX480E-1A receiver module is reset, all paired transmitters will be unpaired and will no longer be able to control the receiver module.
How to reset
After connecting the external learning button, click the external learning button connected to the receiving module 8 times. The indicator light will flash 8 times and then turn off. The reset will be complete.
(5) Power-On Auto-Engagement
- After the module is powered off and then powered on again, its output pin directly outputs high level.
How to set Power-On Auto-Engagement
After connecting an external learning button, press the learning button 6 times. The indicator on the receiving module flashes and then turns off, and the output pin of the receiving module outputs high level.
Share